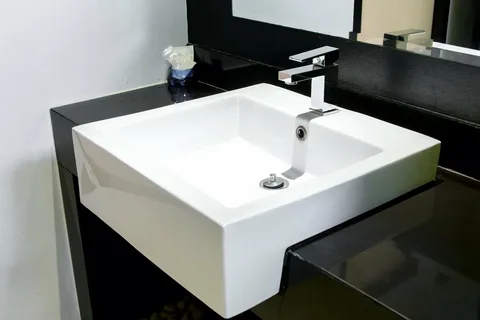
If you’re looking to add a unique and modern touch to your bathroom or kitchen, a DIY concrete basin is an excellent project to consider. Not only does a concrete basin offer durability and versatility, but it also allows you to customize your sink to perfectly fit your style and space. In this article, we’ll guide you through the process of building your own stylish sink using concrete, helping you bring a professional look to your home with a personal touch.
Why Choose a DIY Concrete Basin?
Concrete basins have become increasingly popular due to their sleek, industrial aesthetic and robustness. By opting for a DIY concrete basin, you gain several advantages:
- Customization: Shape, size, and color can be tailored to your preferences.
- Durability: Concrete is tough and resistant to scratches and stains.
- Cost-Effective: Building your own sink can be more affordable than buying designer options.
- Uniqueness: Each basin has a distinct texture and finish, ensuring your sink is truly one of a kind.
Materials and Tools Needed
Before starting your DIY concrete basin, gather the following materials:
- Concrete mix (preferably fine or smooth finish concrete)
- Mold (can be made from silicone, wood, or plastic)
- Release agent (to prevent sticking)
- Reinforcement mesh or fibers (optional, for added strength)
- Sandpaper and polishing tools
- Sealant (waterproof and stain-resistant)
- Mixing bucket and stirrer
- Safety gloves and mask
Step-by-Step Guide to Build Your Own Stylish Sink
Step 1: Design and Prepare the Mold
Begin by designing your basin’s shape and size. You can create a mold from wood or use a pre-made plastic mold. Apply a release agent to ensure the concrete doesn’t stick to the mold once dried.
Step 2: Mix and Pour the Concrete
Mix the concrete according to the manufacturer’s instructions, ensuring it’s smooth and lump-free. Pour the mixture carefully into the mold, tapping the sides to remove any air bubbles.
Step 3: Cure the Concrete
Allow the concrete to cure for at least 24-48 hours. During this period, keep the basin moist by lightly spraying it with water to prevent cracks.
Step 4: Demold and Finish
Once cured, remove the basin from the mold. Sand the edges and surface to achieve a smooth finish. If you want a polished look, continue sanding with finer grit sandpaper.
Step 5: Seal Your Basin
Apply a waterproof sealant to protect your concrete basin from water damage and stains. This step is crucial for maintaining the basin’s appearance and functionality.
Tips for a Successful DIY Concrete Basin Project
- Use a high-quality concrete mix designed for fine finishes.
- Reinforce the concrete with fibers if you want extra durability.
- Experiment with pigments to add color to your concrete mix.
- Be patient during curing to avoid cracks.
- Regularly reseal your basin for long-lasting protection.
Conclusion
Creating a DIY concrete basin is a rewarding project that combines creativity with functionality. By building your own stylish sink, you not only save money but also add a personalized element to your home décor. Whether you prefer a minimalist rectangular basin or a rounded artistic shape, concrete offers endless possibilities for customization. Start your DIY concrete basin project today and enjoy a beautiful, durable sink that stands out!


